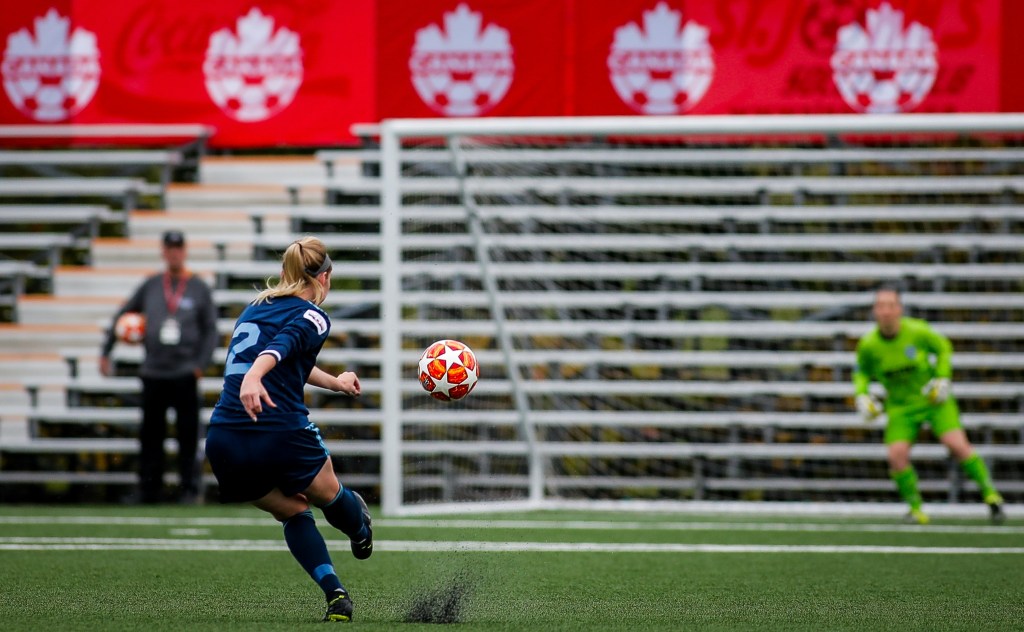
ACL injuries are a big scare for a lot of athletes. They mostly happen during side tracking and non contact movements. Starting and landing jumps however carries the biggest risk for obtaining an ACL injury. Women especially have a 3.5 higher risk of acquiring an ACL injury than men and the rehabilitation does not only take a lot of time (about 6-9 months) but it also has a major physical and mental impact. Limited movement, atrophy (muscle loss), limited participation in sports and activities as well as anxiety and depression are just a few of those.
With this blog post you have access to a prevention program specifically made for women. While the basic parts are the same as for men, some exercises and muscles need a bit more attention when it comes to women. The evidence to back this up can be found by clicking the links at the bottom of this side.
This program also includes a testing method to track you progress. Are you ready to get started? Alright, let’s go!
We’ve probably all tried a workout program or a running schedule before. But how do we know we’ve made progress? Well, if we can run longer and lift more weights than before that gives us a great positive outcome. With prevention programs it’s not that easy though. Is it positive if we just don’t get a certain injury? But how do we know if it’s doing it’s job in protecting us?
In this case, there is an easy way to measure your progress. With two different hop tests.
The first one, the Single hop test, is one forward jump that needs to be done with the furthest distance possible. There is a measuring tape on the ground and the distance of the jump will be written down for a baseline measurement. The landing should be stable and the first contact with the floor counts. Hold the landing for two seconds. Here you can also see a video of the Single leg hop test.
The second one, the Triple hop test, is very similar to the Single hop test. It consists of 3 jumps forward, which should be done just like in the video underneath. You jump forward and hold the last jump for two seconds. Do the test with measurement tape on the floor and then the distance of the jump will be written down. Under the video you can download a form to track the results on your hop tests.
The hop tests results should improve overtime if you follow the prevention program regularly. This also gives a good indication on how good your preventative measures are. The tests should be repeated after 6 weeks of following the prevetion program.
So, improved hop test result = improved prevention.
Alright, now we’re ready for the training. This should ideally be done twice a week all season long to see optimal results. In the table below you’ll find all of the exercises with their reps and times. This is a good guideline to follow, although the repetitions should be individual to the person and their sport. Explosive sports should aim for a lower rep count with more strain. And endurance sports should go for more reps with bodyweight. This might seem complicated but don’t despair, we will of course go through everything together.
Before we do that though, here is a very important part to this training program. Feedback and observation. Both are crucial as a good form and bodymechanics make injury prevention so much more effective. The knees should be the center of attention in this specific case. During landing they should not move inwards or outwards but stay strong and stable. The degree of knee flexion also plays an important part, don’t worry, this sounds more complicated than it is. During squats and jumps, we should watch out to squat down as far as possible and get our thighs and lower legs together as much as possible. In this Observation Form (in the red bar underneath) you can find some more notes on each exercise and the videos in this blog will guide you through all of them comfortably.
Now finally, let’s start with the warm up. A 10min jog This exercise doesn’t have a specific impact, apart from warming up and getting your body ready. If you prefer using a rowing machine or an indoor bike, go for it!
| EXERCISES | REPS/TIME |
| Jog | 10 min |
| Alternative row, bike, cross trainer. | 10min |
The following parts of the training will be split in a strength, plyometrics and cool down part.
Within the strength training, if an exercise feels easy you can add some weight or make it harder by making the box of the squat variations lower for example. Here you can find the video that describes the exercises. It is also written out in the paragraphs below.
Lets go into this in detail. The first exercise is Squats. We will use a box to have a good measurement of how low we want to go. We want to just touch the box when sqatting down but not fully sit on it. If our back is straight and our knees are steady we can make the box smaller. The most important part is form. So if we feel like our back is bent or our legs are moving around too much, let’s keep the higher box.
For the next exercise, Single leg squats, we’ll also use a box but this time we make it a bit higher. Now we squat down while standing on one leg and touch the box again. Same principles as with the Squats apply here. We do need to watch our knee a little more closely though, as it should stand steady. If it moves to much to balance out our movement then we make the box a bit higher.
The third exercise are Side Lunges. If you have use a valslide and use it to slide sidewards with your leg. Watch out to still go low in your stance leg, just like a squat. You should be able to bring the leg back to the middle without having to use the rest of your body. If that’s not the case, don’t go as low and slowly build up the depth of the movement.
Alternatively, if you don’t have a valslide, you can do Walking lunges. We don’t need any equipment for them and just take a big step forward. Then we move down until our back knee almost touches the ground. Now we stand up and move our back foot next to our front foot. We’ve moved a meter or so now. This we will repeat with the other foot. And just keep going. Let’s watch out that our back stays straight again and our knees stay steady. Let’s go! PS: if this is too easy, just add some weight in the form of dumbells or a sandsack.
The fourth exercises, Single Leg Hamstring Bridge thrusts, are done with two boxes. A lower one for your shoulders and a higher one for your heels. Try and keep a 20-30 degree knee flexion angle and then take your weight off one of your legs.
Now slowly move your hip all the way down and up again. Watch out to not move from your back but literally thrust your hips.
If this gets too easy, add some weight with Dumbells or a Sandbag.
Now onto the last exercise, we’re almost done with the strength block. Here we will strengthen our calfs by doing Single leg calf raises. Pick a step or some stairs to place your foot on. We can hold on to improve our balance but don’t pull yourself up with your hand. And then we slowly move our heel down, and all the way up as if we’re standing on our toes. Good job! This will burn in your calf but don’t despair. After we’re done with the 30 reps on the right foot. We will change and do them on the left foot ;).
| EXERCISES | REPS/TIME |
| Squats | 30 reps |
| Single leg squats | 30 reps per leg |
| (Side) Walking lunges | 20 reps per leg |
| Hamstring Bridge | 30 reps |
| Single leg calf raises | 30 reps per leg |
Alright, your muscles should be burning by now which is exactly what we want. Now we will move onto our Plyometrics part of the training.
Same rules apply as for the previous part, although special attention should be paid to single leg jumps and landings. Also, side movements are crucial for progress. So, we want to focus on exercises demanding a lot of control in those movements. Take a look at the video or the Description below.
After this part your muscles should be trilling and you’ve finished the high intensity part of the program. GO YOU!!
Alright we will start with lateral jumps first. Pick a line or a small cone or stick to jump over. Then you start with a jump away from your body. Aftterwards you jump back to where you started. Now, we want to spend as little time as possible on that first jump. The second you touch the ground you should already be jumping back again.
It is important to pay attention to how you land. Keep your knee flexed a little bit and hold that last landing position for about two seconds to balance. Don’t forget to do this exercise for both of your legs ;).
Now we’ll move on to Single leg drop jumps. Here we will start with a low height to really get our landing and technique perfect first. Two 20kg weights would be perfect but you can use whatever you want to give you a good height. Then we will stand on top of the blocks on one leg. Slightly lean forward and let yourselve fall down. The hard part is not to jump but drop to the ground. There we will land again with a slightly bent knee and hold the position for two seconds to stabilize. Really focus on our landing knee staying as still as possible. After our reps, let’s move on to the other foot. Once we have mastered this, we can make the drop distance a bit higher.
As we’re already practicing with heights, box jumps are a good follow up. Let’s get a box and start with a height that we feel comfortable with jumping on. We want to use our whole body when jumping of, including our hands and will land in a Squat position. Let’s hold this for two seconds again. Watch out that your knees are not moving inwards during the landing and that you land as silent as possible. Then we will step off the box and repeat. If you’re feeling good after 2-3 jumps, make the box a bit higher to challenge yourself. But as always, technique comes before height.
Our last exercise will be Scissor jumps. Let’s move into a lunge position, so take a big step and bring our back knee almost to the ground. Now we will jump and extend our legs when we’re in the air and bring them together in the middle. We want to land in the same position that we started though. Let’s watch out that our knees land as steady as possible again. You can of course use your hands to give your jumps more power. Once we’ve mastered this we will try to move our legs a bit further in the air so that the front leg is a bit behind and our hind leg is a bit in front. This will be a very fast movement as we want to land in our starting position again. Practice makes perfect! And as this is the last exercise, give it everything you’ve got!!
And don’t forget! Practice makes perfect and it’s totally normal to have to do exercises multiple times to get them right. Merel gave us a perfect example in this video ;).
| Lateral jumps over cone | 3×10 reps per leg |
| Single leg drop jump + hold | 3×10 reps per leg |
| Box jump + hold | 3×10 reps |
| Scissor jumps | 3×10 reps per leg |
You can easily track your progress with this Training Form. And I guess you already know that you can download it by clicking on the red bar ;).
The last part of our training will be a cool down with five stretches. The most important part is to involve all muscle groups and find a quiet spot to relax after the hard work previously done. If you enjoy a yoga session or another cooldown session, go for it! In regards of cooling down and relaxing, you know best what your body needs. I’ve got some suggestions here for you though. Take a look at the table and video below.
| Standing calf stretch | 2x 30 seconds per leg |
| Seated quadriceps stretch | 2x 30 seconds per leg |
| Seated hamstring stretch | 2x 30 seconds per leg |
| Butterfly stretch | 2x 30 seconds |
| Hip flexor stretch | 2x 30 seconds per leg |
And that is it. Full prevention program done. If you want to follow this for a longer period of time, you can retest yourself with the Single Hop Test and Triple Hop Test after 6 weeks to look at your progress made.
For references and the scientific evidence backing this program up, you can download my research method and my bachelor thesis plan here.
I hope you’ve enjoyed this post and it sparked your interest. If you tried the training please let me know in the comments!
Have an incredible day and I’ll see you at my next blog post!
-marie

Leave a comment